
Protect Canadian Floors: 5 Steps to Remove Salt Stains Safely
Protect Canadian Floors: 5 Steps to Remove Salt Stains Safely
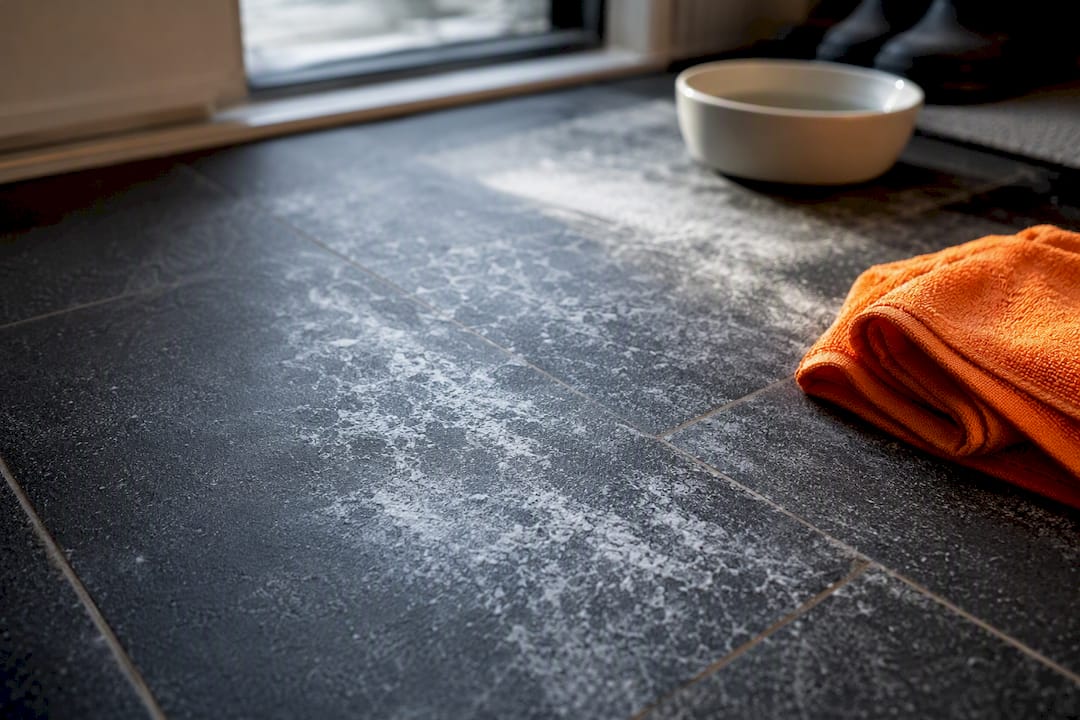
Vacuum or sweep the crystals away first, then neutralize the alkaline residue with a mild acid like diluted vinegar or a commercial floor neutralizer, and rinse and dry the surface right after. That sequence works on tile, laminate, and sealed hardwood. Natural stone is the exception: skip the vinegar entirely and use a pH-neutral stone cleaner instead, because acid etches marble, limestone, and travertine.
TL;DR:
- Using vinegar on natural stone causes etching, so always opt for pH-neutral stone cleaners instead of acids or vinegar.
- Vacuuming or sweeping to remove crystals is essential before applying any neutralizer to prevent salt from redepositing or scratching finishes.
- Repeated rinsing with clean water after neutralizing is critical to completely remove dissolved salt residue and prevent haze or future stains.
- Professional cleaning offers targeted neutralizers, better extraction equipment, and controlled drying, especially for heavy or set-in salt deposits.
- Proper entryway mats and regular outdoor cleaning significantly reduce salt entry, lessening the need for frequent or intense floor treatments.
Table of Contents
- Quick checklist: 5 steps to remove salt stains from floors right now
- Why mopping and soap make salt stains worse
- Surface-by-surface: how to clean salt stains on hardwood, tile, stone, laminate, and carpet
- Preventing salt stains before they reach your floors
- When DIY isn’t enough: what professional cleaners do differently
- What actually matters when you’re fighting salt stains
- Book a salt-residue cleanup with Ateliermaids before winter grime sets in
- Sources
Quick checklist: 5 steps to remove salt stains from floors right now
You don’t need to read the whole guide before you start scrubbing. Here’s the order that actually works:
- Remove the crystals dry. Vacuum or sweep first. Rock salt and de-icer grit act like sandpaper if you mop over them.
- Blot wet slush. Soak up standing moisture with a towel before it dries into a crust.
- Apply the right neutralizer. Match the dilution and product to the surface (details below).
- Rinse and dry thoroughly. Clean water lifts dissolved residue; a dry floor stops it from settling back in.
- Repeat on stubborn spots. Test any product on a hidden patch first, especially on wood or stone.
Skip any step and you’re usually just relocating the salt, not removing it.
Why mopping and soap make salt stains worse
Salt and de-icer residue isn’t dirt. It’s an alkaline mineral deposit, chemically closer to hard water scale than to mud or dust, and that difference is why regular cleaners fail against it. A neutral pH cleaner or soap doesn’t break the mineral bond, so instead of lifting off, the salt dissolves into your mop water and gets redeposited in a thin haze across the floor.
Wet-mopping over undissolved crystals is worse. You end up dragging gritty salt across the finish, and that creates an abrasive slurry that scratches polyurethane and dulls grout lines.
The fix follows one principle: neutralize with a weak acid, dissolve the mineral bond, then rinse it away before it has a chance to dry again.
- Alkaline residue resists neutral cleaners
- Wet-mopping over crystals scratches and hazes finishes
- Rinsing removes what neutralizing dissolves; skipping it just redeposits salt
Pro Tip: If your floor looks cloudy right after you clean it, that’s often a sign you rinsed with dirty salt water instead of fresh water. Redo the rinse step with a clean bucket, and the haze usually disappears.
Surface-by-surface: how to clean salt stains on hardwood, tile, stone, laminate, and carpet
Different flooring reacts differently to acid and moisture, so treat this section as your cheat sheet before you grab a bottle of vinegar.
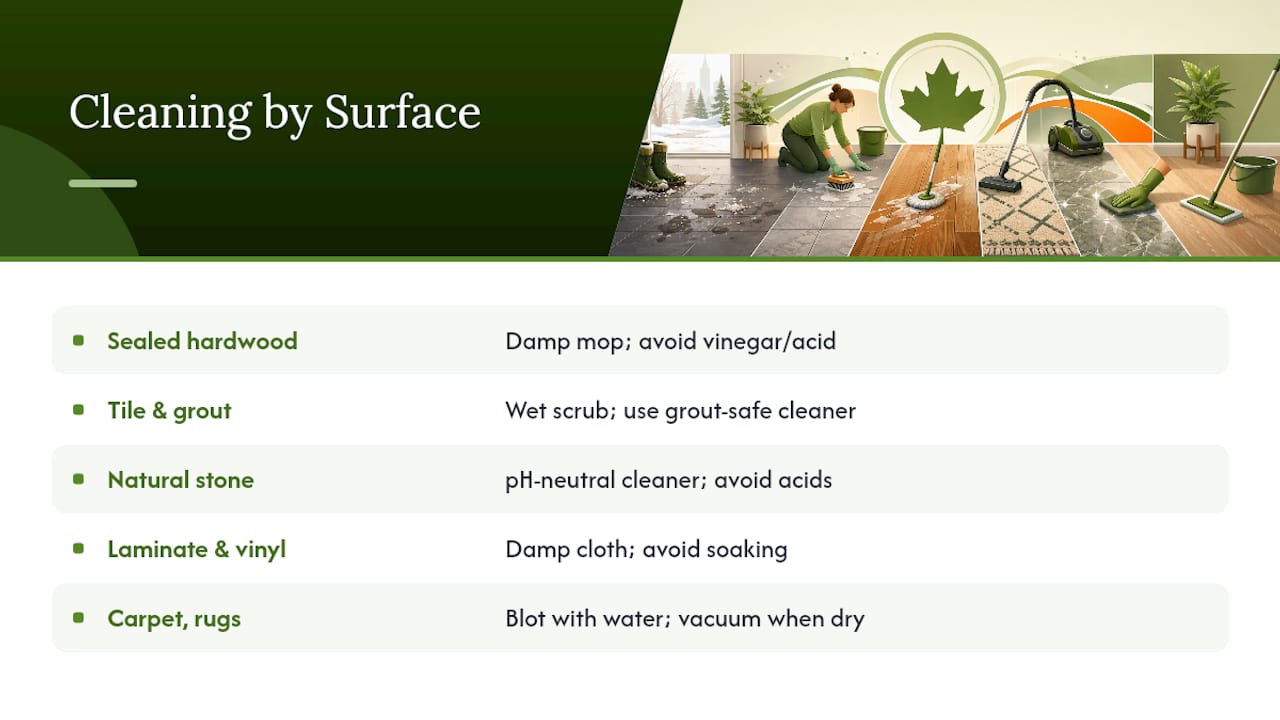
Sealed hardwood
Vacuum first, always. For a prefinished polyurethane floor, mist a microfibre cloth with a solution of about 15 mL of white vinegar per litre of warm water and wipe the stained area, working with the grain. Dry it immediately with a second, dry cloth. Don’t let the solution pool. If a hazy film remains after a few passes, switch to a pH-neutral hardwood cleaner rather than repeating the vinegar. Wood finishes have limits, and vinegar’s cumulative effect can mimic salt damage on polyurethane if you overuse it, so treat vinegar as an occasional spot treatment, not a weekly routine. The goal on wood is always to clean the finish, not to strip it.
Tile and grout
Sealed tile can handle a stronger mix: equal parts white vinegar and warm water. Apply it to the stained area, let it sit for two to three minutes to break down the residue, then gently brush the grout lines with a soft brush. Rinse twice with clean water. One rinse often isn’t enough on grout because it holds onto dissolved salt in its texture.
Natural stone
Skip the vinegar completely here. Marble, limestone, travertine, and slate are calcium-based and etch on contact with acid, so use plain water and a pH-neutral stone cleaner instead. If the residue is heavy or the staining looks set-in, this is a good moment to call a professional rather than experiment.
Laminate and vinyl
Use as little moisture as possible. A well-wrung microfibre cloth and a pH-neutral cleaner do the job without pushing water into seams, which is where laminate fails first. Avoid steam mops entirely on both laminate and hardwood; the heat and moisture combination can warp boards and cloud finishes.
Carpets, rugs, and runners
Vacuum thoroughly before anything else. For synthetic carpets and runners, mist a 1:1 vinegar and warm water solution onto the stain and blot, never rub. Wool rugs need a much gentler touch: use a weaker solution and blot only, since wool fibres are more chemically sensitive than synthetics. Once the area is fully dry, a light dusting of baking soda and a final vacuum pass helps pull out any lingering residue. Our guide on carpet deodorizing versus deep cleaning covers why over-wetting carpet backing is the most common reason salt stains keep coming back.
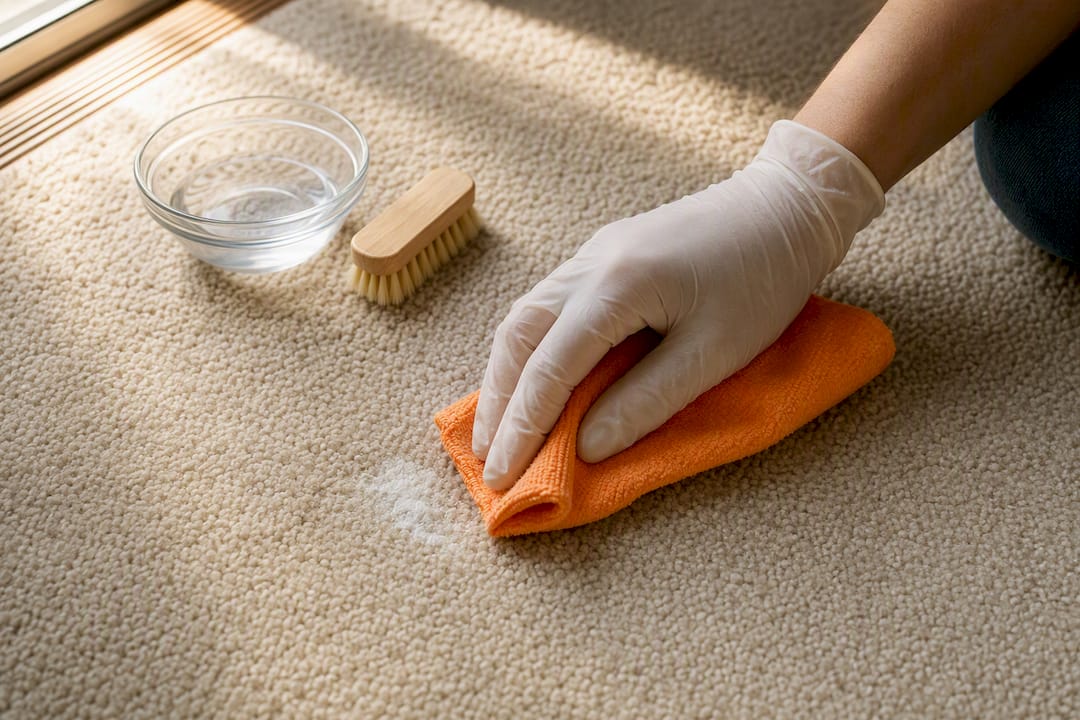
For heavy or set-in residue on any surface, a professional-grade floor neutralizer outperforms DIY vinegar because it’s formulated specifically to break down chloride films rather than just dilute them.
Preventing salt stains before they reach your floors
The cheapest fix is stopping salt at the door instead of chasing it across the house. A three-layer entryway does most of the work: an outdoor scraper mat to knock off loose grit, a boot tray to catch melting slush, and an indoor absorbent runner long enough for three or four full steps so boots are dry by the time they hit your hardwood.
- Vacuum or dry-sweep entryways daily during active storms, not just once a week
- Launder or rotate saturated mats before they start redistributing salt themselves
- Replace rug pads once they turn stiff or crusty; that’s dried brine, not just wear
- Swap out cheap runners rather than repeatedly soaking and drying the same one
A mid-winter spot-check on your entry flooring, followed by a full neutralizing rinse after the last snowfall, catches residue that daily habits miss. If your entry doors themselves are letting in cold drafts and moisture, weatherproofing them cuts down on tracked-in slush too.
When DIY isn’t enough: what professional cleaners do differently
A few signs mean it’s time to stop experimenting and call in help: a haze that keeps returning even after you’ve rinsed properly, damp carpet padding that won’t dry out, large areas of discoloured or set-in residue, or simply not knowing what finish is on your floor.
Professional crews carry an advantage beyond elbow grease:
- Purpose-made neutralizers formulated to target chloride films rather than mask them
- Automatic scrubbers or wet vacuums that pull up dissolved residue instead of pushing it around like a mop does
- Controlled drying that prevents the re-depositing problem homeowners run into
Professional cleaning services send dedicated crews who get familiar with your specific floors over repeat visits, work on flat pricing with no surprise invoices for special treatments, and back every visit with a service report and a satisfaction guarantee.
What actually matters when you’re fighting salt stains
Most articles on this topic treat salt residue like dirt, and that’s the mistake worth unlearning first. Dirt responds to scrubbing. Mineral deposits respond to chemistry. Once you stop reaching for a brush and start reaching for the right dilution, the whole problem gets simpler.
The conventional advice oversells vinegar as a universal fix. It’s a good tool on tile and, in a very weak dilution, on sealed hardwood. It’s the wrong tool on stone, and it’s a bad long-term habit on wood finishes if you use it every week instead of occasionally. Readers who skip straight to “vinegar everywhere” usually end up dulling a floor they were trying to protect.
Prevention deserves more credit than it gets. A proper entryway setup does more to protect your floors over a winter than any cleaning technique, because the best salt stain is the one that never made it past the mat. Where this guide differs from most is treating professional help not as a last resort for failure, but as the sensible option once the residue is heavy, the finish is unfamiliar, or the DIY approach has already gone sideways once.
— Atelier
Book a salt-residue cleanup with Ateliermaids before winter grime sets in
Skip the guesswork on which neutralizer your floor can handle. Ateliermaids sends a crew that inspects your flooring, matches the neutralizer to the actual surface, whether that’s sealed hardwood, tile, or stone, then rinses and dries the area properly so residue doesn’t creep back within a week.

A booking covers a full inspection, the correct floor-compatible treatment, a thorough rinse and dry, and a service report afterward so you know exactly what was done. Homeowners across the Greater Toronto Area choose Ateliermaids because the same dedicated crew returns visit after visit, pricing stays flat with no upsell for “special” salt jobs, and every job is backed by a 100% satisfaction guarantee. If you’re dealing with recurring haze, damp carpet padding, or a floor finish you’re not sure how to treat, book a house cleaning visit and let a trained crew handle the rest.
Sources
- Salt stains: The 3-step process that works — D & G floors
- Neutralizers — SupplyDen janitorial supply